


Have you ever wondered who compiles the indexes at the end of books? Traditionally, this has been a specialist profession. However, these days, you can add an index to a document yourself. In this post, for example, we’re looking at how to create an index in Microsoft Word.
When to Add an Index
Most documents don’t need an index. In fact, it is usually only book-length non-fiction that does! And even if you are writing a non-fiction book, indexing is often handled by the publisher.
However, if you want to self-publish a work of non-fiction – or if you are creating another long document such as a company handbook – you may want to add an index yourself. And this is where the indexing options in Microsoft Word become very useful. This process involves two steps:
- Marking terms that you want to appear in the index
- Generating the index itself
We’ll now look at how to create an index in more detail below.
How to Mark Entries
Most of the work of creating an index comes with marking text. This means going through the document to look for terms you want to include in the final index. To mark an entry:
Find this useful?
Subscribe to our newsletter and get writing tips from our editors straight to your inbox.
- Use the cursor to select the word/phrase you want to include in the index
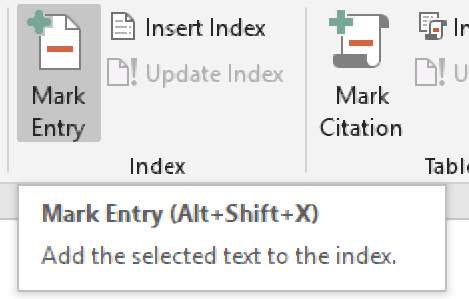
- Go to References > Index on the main ribbon and click Mark Entry
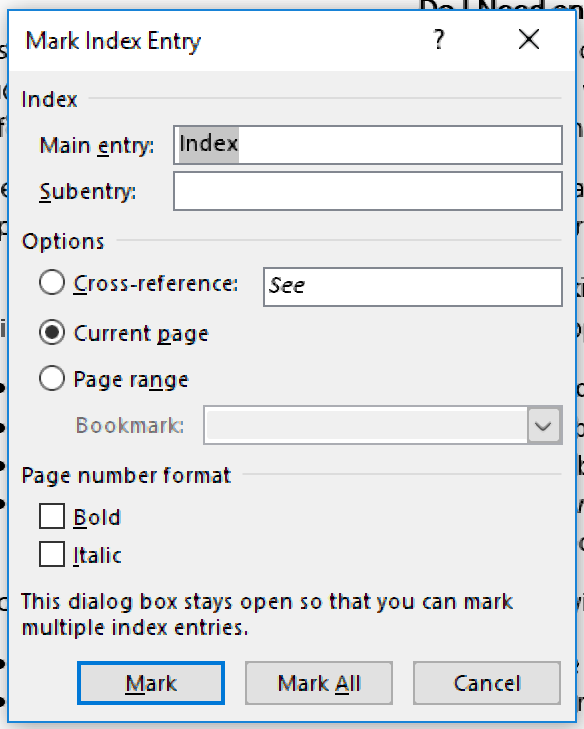
- In the new dialogue box, select the options required
- Click Mark to mark the term selected or Mark All to mark every use of the term throughout the document

The options in the Mark Entry dialogue box mentioned above will let you:
- Link a Subentry (i.e., a similar term) to the main term
- Cross-reference a term with another index entry
- Control the page number format

Make sure to do this for every term that you want to include in the index. If you need to “unmark” a term, you will first need to turn on hidden text in Word. You will then be able to see, and if required remove, the index entry in curly brackets. Make sure to do this for all similar entries.


How to Create an Index
Once you have marked your entries, all that’s left is to create an index:
- Place the cursor where you want to create an index
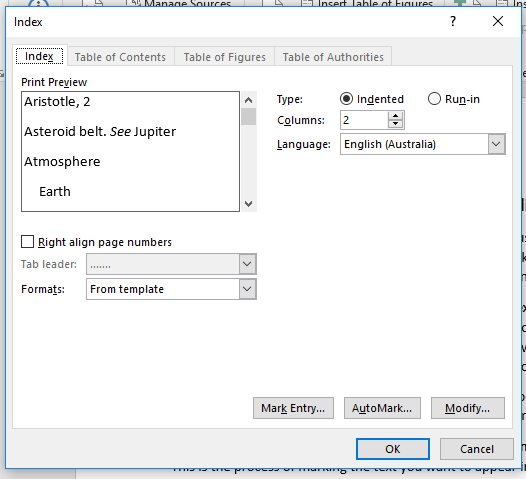
- Go to References > Index and select Insert Index
- Select any required formatting options from the menu
- Click OK to insert an index in the selected location

Microsoft Word will generate an index based on your marked entries. If you change any of the marked entries, you can then update the index at the click of a button by going to References > Index > Update Index.